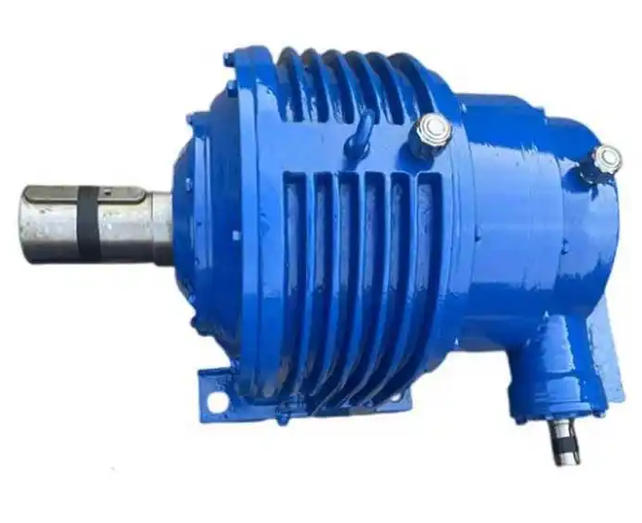
Complete steps for dismantling and repairing the grinder reducer
1、 Preparation and safety isolation before maintenance
Safety
isolation: Cut off the power supply and hang warning signs, strictly
implement the "LOTO" system to ensure safe operation.
Reference
materials: Refer to the disassembly manual of this model reducer to
clarify special design, assembly requirements, and various tolerance
standards.
Tool preparation: Prepare specialized wrenches,
pullers, copper rods, hydraulic jacks, feeler gauges, etc. It is
strictly prohibited to use mismatched tools.
Environmental
cleaning: Ensure that the work area is spacious and dry, and place an
oil basin at the bottom to clean the maintenance site.
2、 External disassembly and oil drainage
External
oil drainage: Unscrew the bottom oil drain plug and drain the gear oil
completely. If planning to reuse, impurities need to be filtered first.
Disassemble
attachments: Remove the coupling or pulley (slowly apply force with a
puller, and locally heat or infiltrate kerosene assistance when stuck),
and remove accessories such as fan cover, oil pipe, sensor, etc.
Photo
marking: Before disassembly, it is necessary to take photos or mark the
original position and direction of components such as couplings, end
caps, gears, etc. to prevent assembly misalignment.
3、 Shell separation and internal disassembly
Separate
the shell: Loosen the end cap bolts in diagonal order, gently tap the
edge of the end cap with a copper rod or use a top wire to separate the
upper and lower shells. Violent disassembly is strictly prohibited to
avoid deformation of the joint surface.
Remove components: First,
remove the locating pin, and then remove the gears and bearings in
order. For medium-sized reducers, the rotor needs to be disassembled
synchronously at both ends to avoid component deformation caused by
one-sided force.
Violence is strictly prohibited: Bearing
disassembly must use a puller or press, and it is strictly prohibited to
directly strike the bearing or gear meshing surface.
4、 Component cleaning and precision testing
Thoroughly
clean: Use a cleaning agent (such as kerosene) to thoroughly clean all
parts, remove oil stains and metal debris, and inspect the interior of
the box for any abnormal wear marks.
Gear inspection: Check the
wear of the tooth surface, with a focus on observing whether the contact
spot area of the tooth surface is ≥ 60%~70%.
Bearing inspection:
Measure the radial clearance of the bearing (generally standard is
0.02-0.2mm), rotate the bearing and listen for its sound, check for
spots, annealing or rust on the surface of the ball and groove, and
replace it if it is severely worn.
Dimensional measurement: Use microm
eters
and other measuring tools to measure the fit dimensions of the shaft
neck and bearing holes, confirm if they exceed the tolerance range,
summarize various dimensional deviations, and determine repair items.
5、 Standardized reassembly and gap adjustment
Replace
vulnerable parts: All disassembled sealing rings and gaskets must be
replaced with new ones, and an appropriate amount of lubricating grease
(such as molybdenum disulfide or lithium based grease) should be applied
during assembly.
Bearing installation: Use hot installation
method (oil temperature or heater temperature controlled at ≤ 120 ℃) or
press in method to install bearings, paying attention to the axial
clearance between cone and thrust bearings, which is generally not
greater than 0.05mm.
Gear assembly: Reinstall the gear
components according to the marked positions to ensure that the meshing
clearance meets the design requirements (generally the gear clearance is
0.05-0.3mm, refer to the instruction manual for details), which can be
measured using a feeler gauge or lead pressure method.
Tightening
and sealing: Symmetrically tighten the end cap bolts, adjust the
bearing preload force through gaskets or adjusting screws, and ensure
that the shaft rotates flexibly without jamming.