
Four Sea Ltd
sales@reducersgearboxes.com
sales@reducersgearboxes.com

When the XLD5‑9‑Y11‑ZP cycloidal pinwheel reducer develops so‑called slipping symptoms, operators will observe erratic output shaft rotation, speed oscillation, or obvious speed drop once the unit carries working loads. This condition is not genuine slip. Instead, it arises from internal component wear, loosened assembled joints or inadequate lubrication that breaks normal power transmission. Carry out structured fault diagnosis and restoration work following the procedures below.
Safety Reminder All maintenance work must start with complete power disconnection. Fit warning tags on the equipment. Confirm the unit has fully halted and cooled down to ambient temperature before any hands‑on work begins.
Do not take apart the reducer housing straight away. Many slipping‑like faults originate from exterior assembled interfaces, so complete external checks first.
If external checks cannot eliminate the abnormal symptom, proceed to disassemble and service the reducer internally.
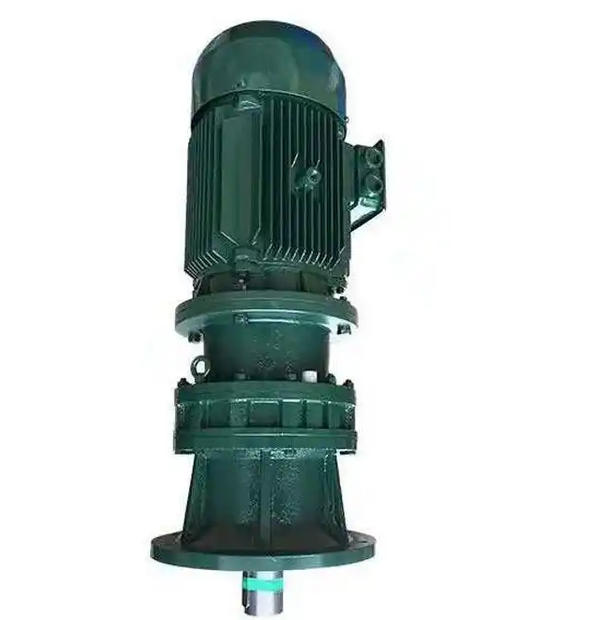
(1) Drain used lubricant and thoroughly clean the reducer housing. (2) Take out fastening bolts joining motor and reducer, then separate the motor assembly. (3) Loosen and remove bearing end‑cover bolts in diagonal alternating sequence, then lift off the end cover. (4) Remove bearing circlips, then pull the output shaft out from the main housing. (5) Dismantle core reduction assemblies: Take off circlips fitted above bearings. Use professional puller tools to extract bearings. Never hammer components directly, as impact force will cause permanent part damage. Remove rotary arm bearings (inner rollers).
Critical operation: Wipe the upper cycloidal gear surface completely clean before removal. Record its engraved alignment mark position. Locate and note the marking position on the lower cycloidal gear as well. The two cycloidal gears require 180‑degree symmetrical installation of their marks to guarantee correct gear meshing.
Remove spacer ring, eccentric sleeve and lower cycloidal gear one after another. Take out the pin‑tooth shell, then extract pin‑tooth pins and pin‑tooth sleeves.
Once disassembly finishes, wash every component with kerosene and carry out detailed condition evaluation.
Name: Hu Bo
phone:+8618881888393
Whatsapp:+8618881888393
Email:sales@reducersgearboxes.com
Add:No. 10 Xiyuan Road, Hangzhou City, Zhejiang Province, China